Insanely Cool Sci-Fi Lighting Objects and Science Fiction Machines
Search
Hexadecimal Sphere
Latest Updates from my Studio; here you can check up on progress with this Machine Creature… more soon, but for now while i rebuild my website you can see a few progress update images here…
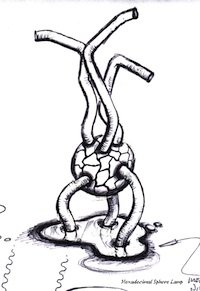
Hexadecimal Sphere Concept Sketch of 2003
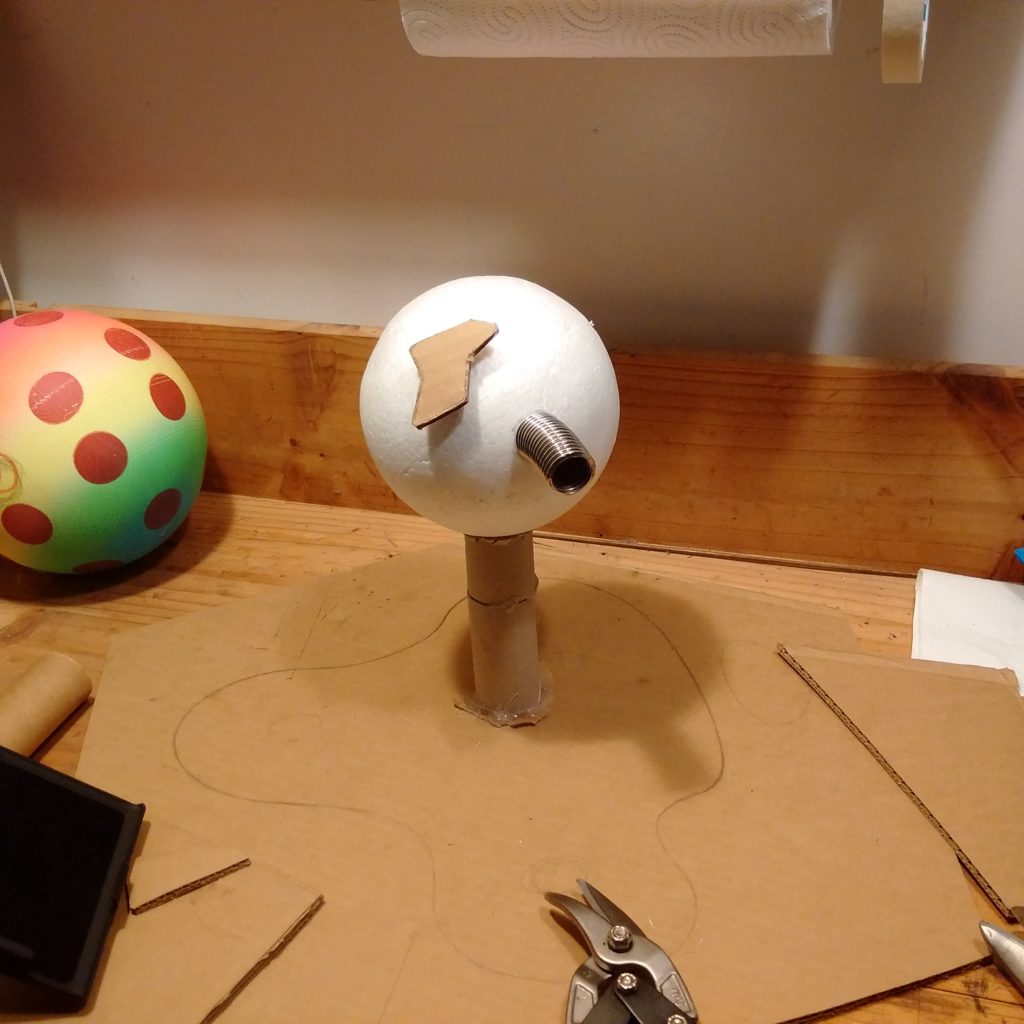
Hexadecimal Sphere stage one, working out the size and proportions in foam and cardboard
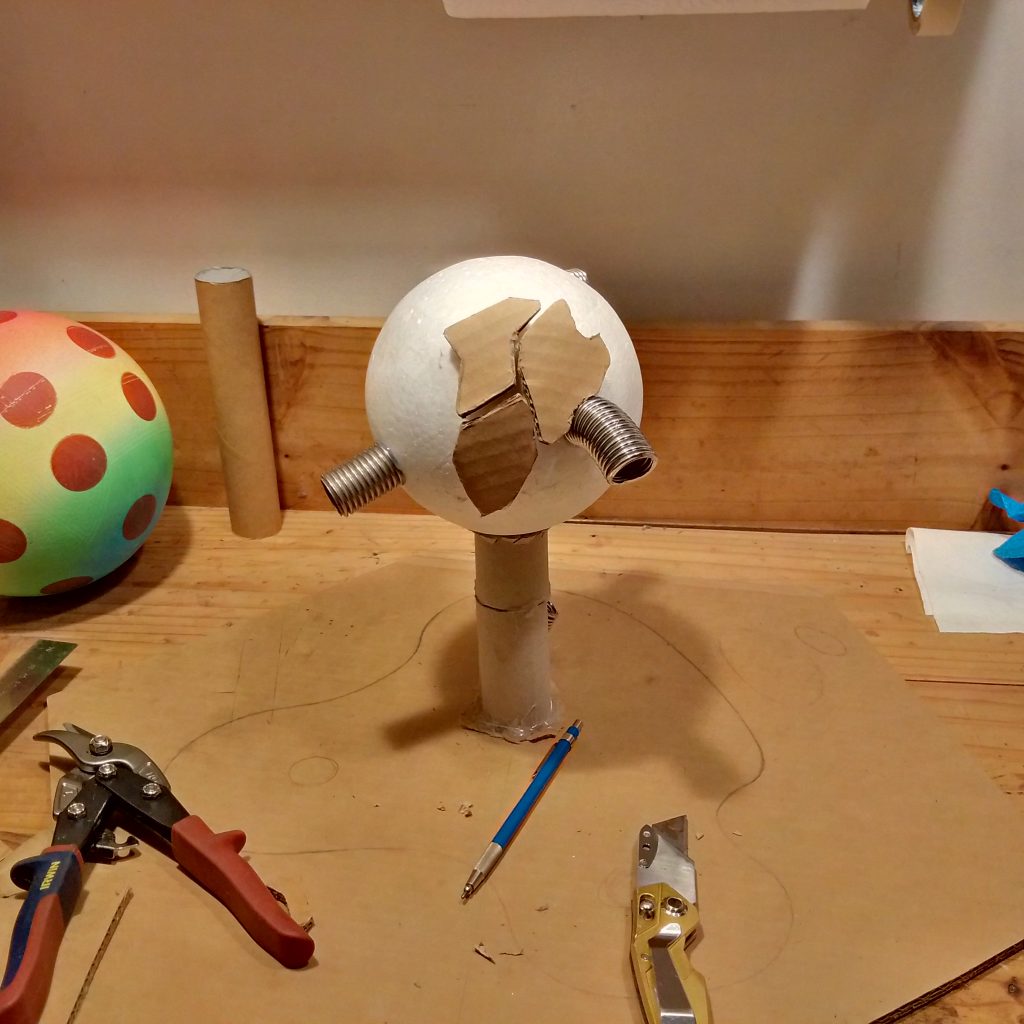
Hexadecimal Sphere adding platelets to see what size and shape they will need to be. Ultimately I chose to go with rounds!Drawing and cutting out the base here too with the craft knife.
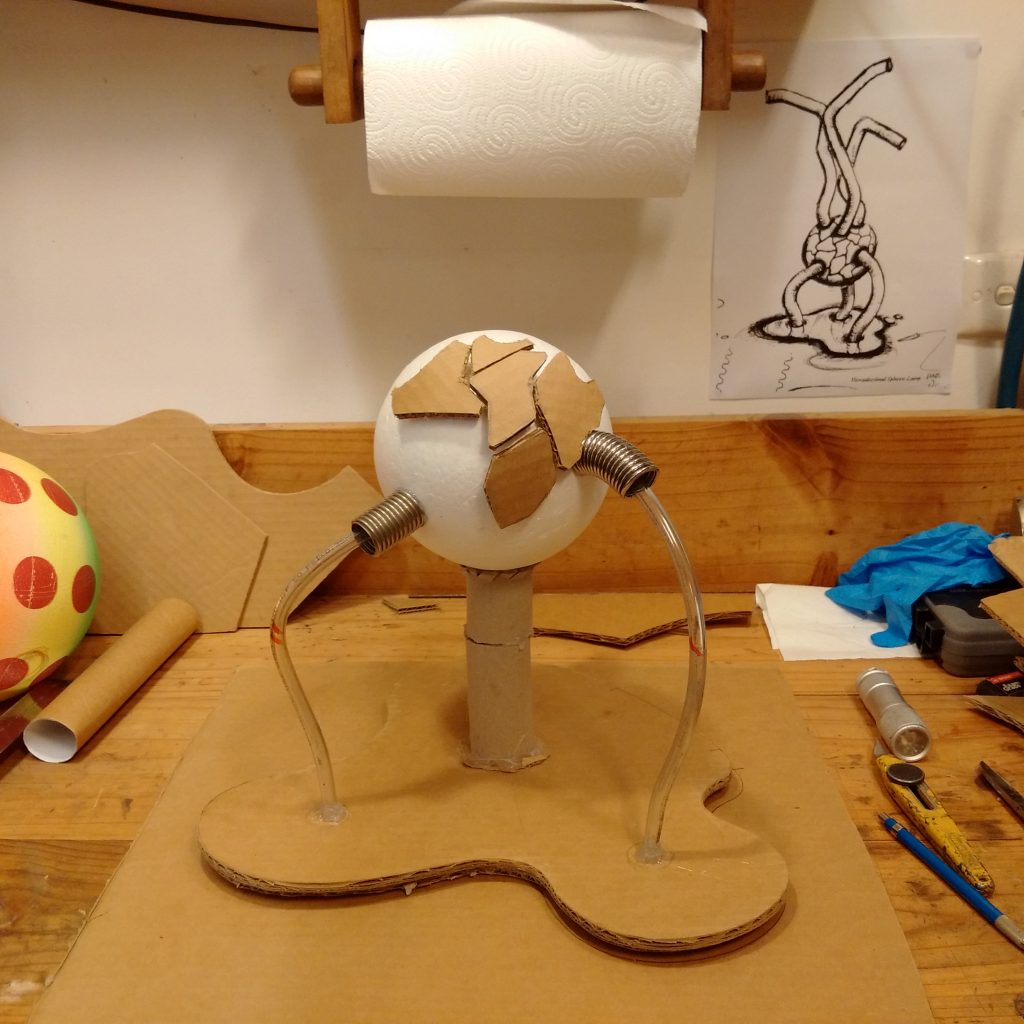
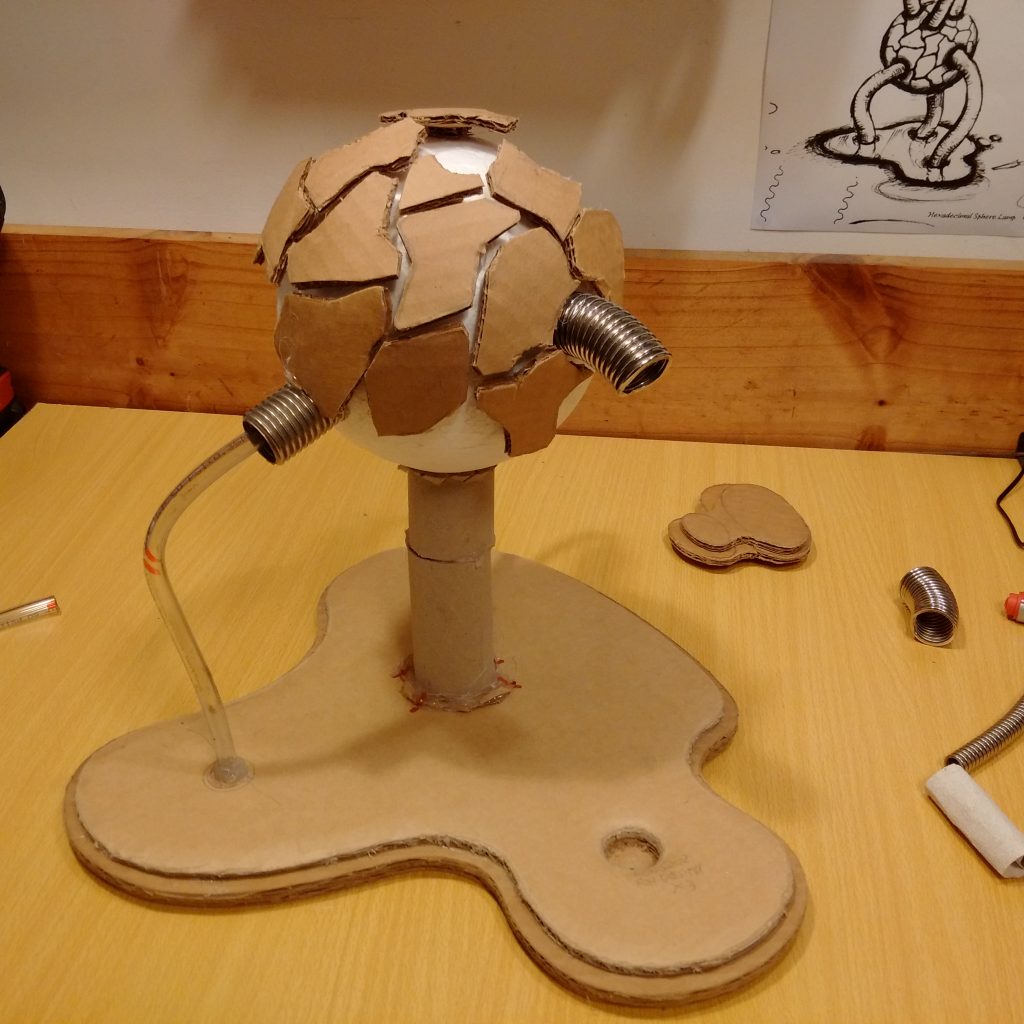
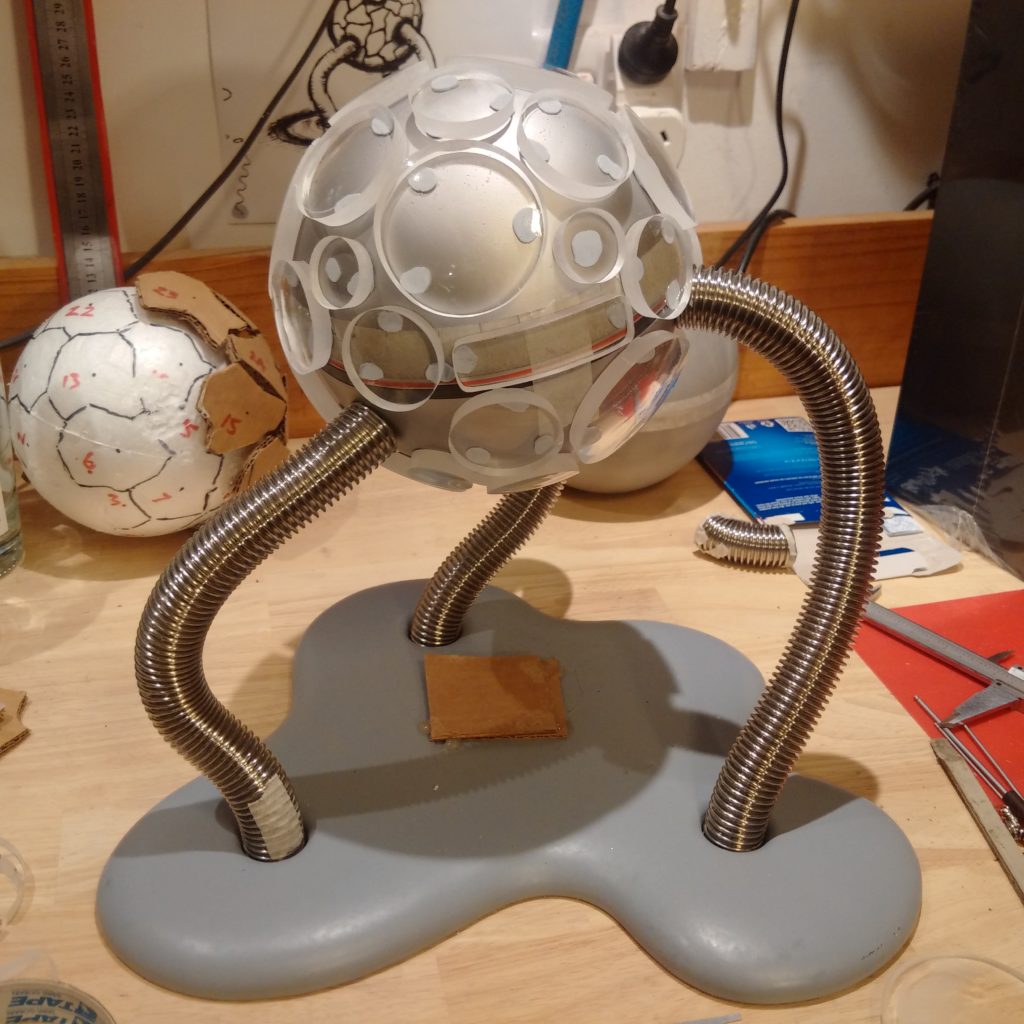
Hexadecimal Sphere Here you can see the foamy with plates and some plastic tubes to show the flow of the legs, its sitting on a card board base of the approximate shape of the finnished base metal.NOTE: concept drawing on the wall behind!
More plates on the sphere and the base is done to the first design. Holes are leg placements, and short convoluted metal tubes are dummies for the final leg components.
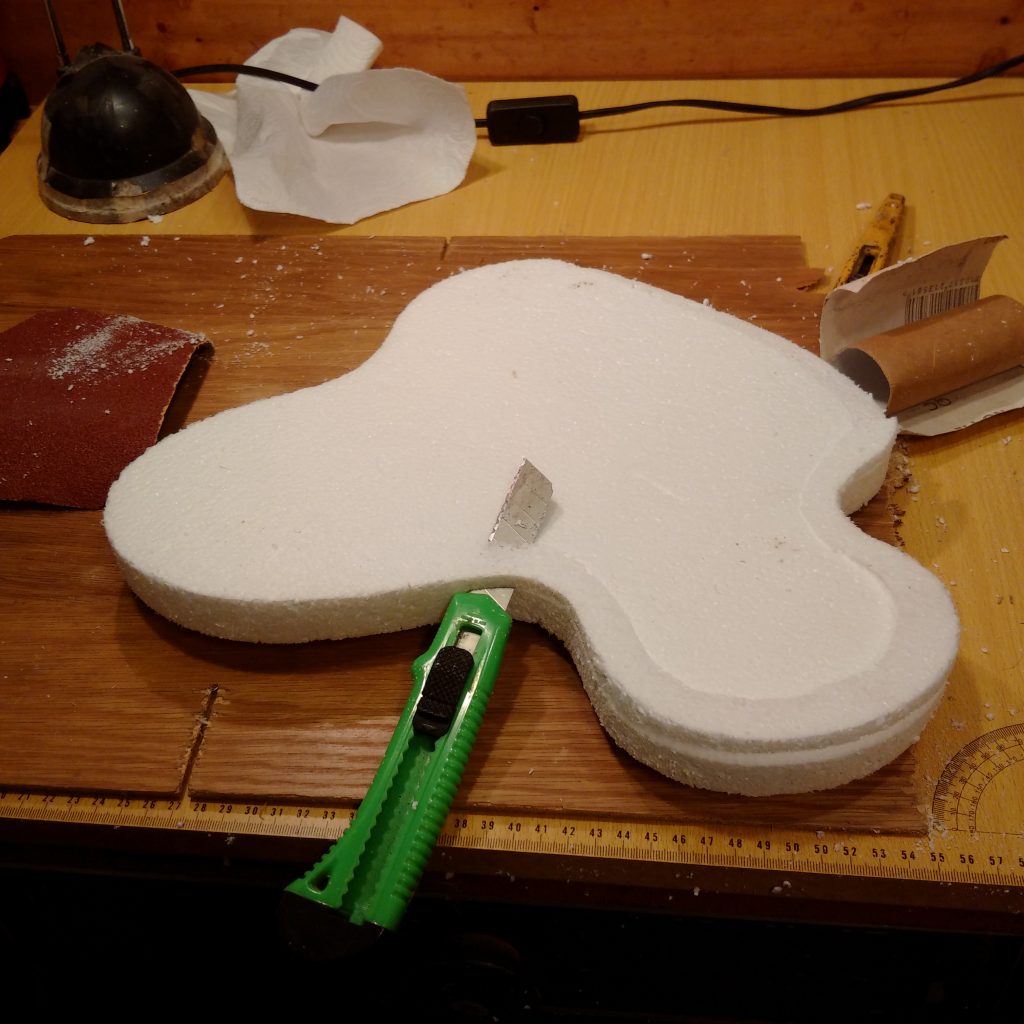
Starting to cut and shape the foamy base… I started with card board to get the overall shape and proportion, then I moved to foam to make the 3D shape and form
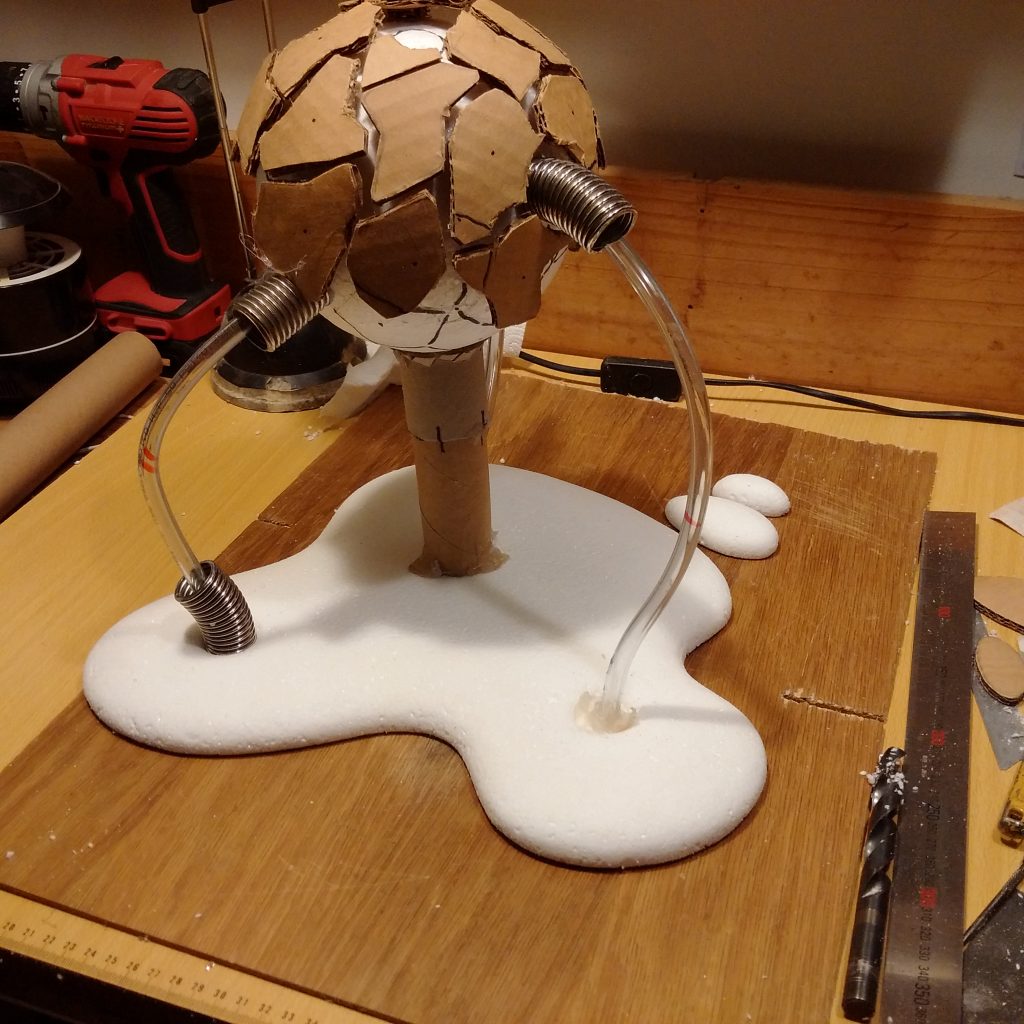
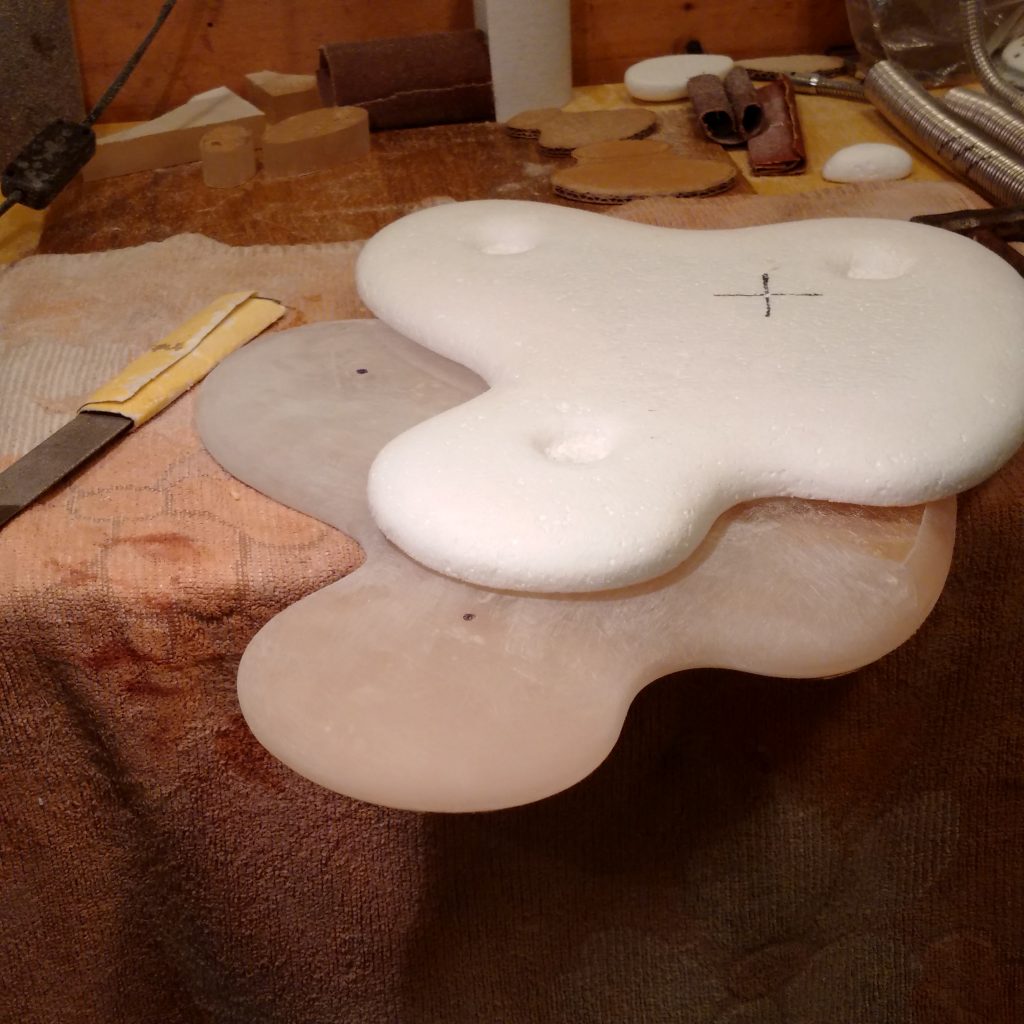
The foam base fitted in place to check the look and feel of the 3D form of the liquid metal base. This idea ended up being frozen metal and not liquid because of the kind of finishes I could achieve… more on this later.
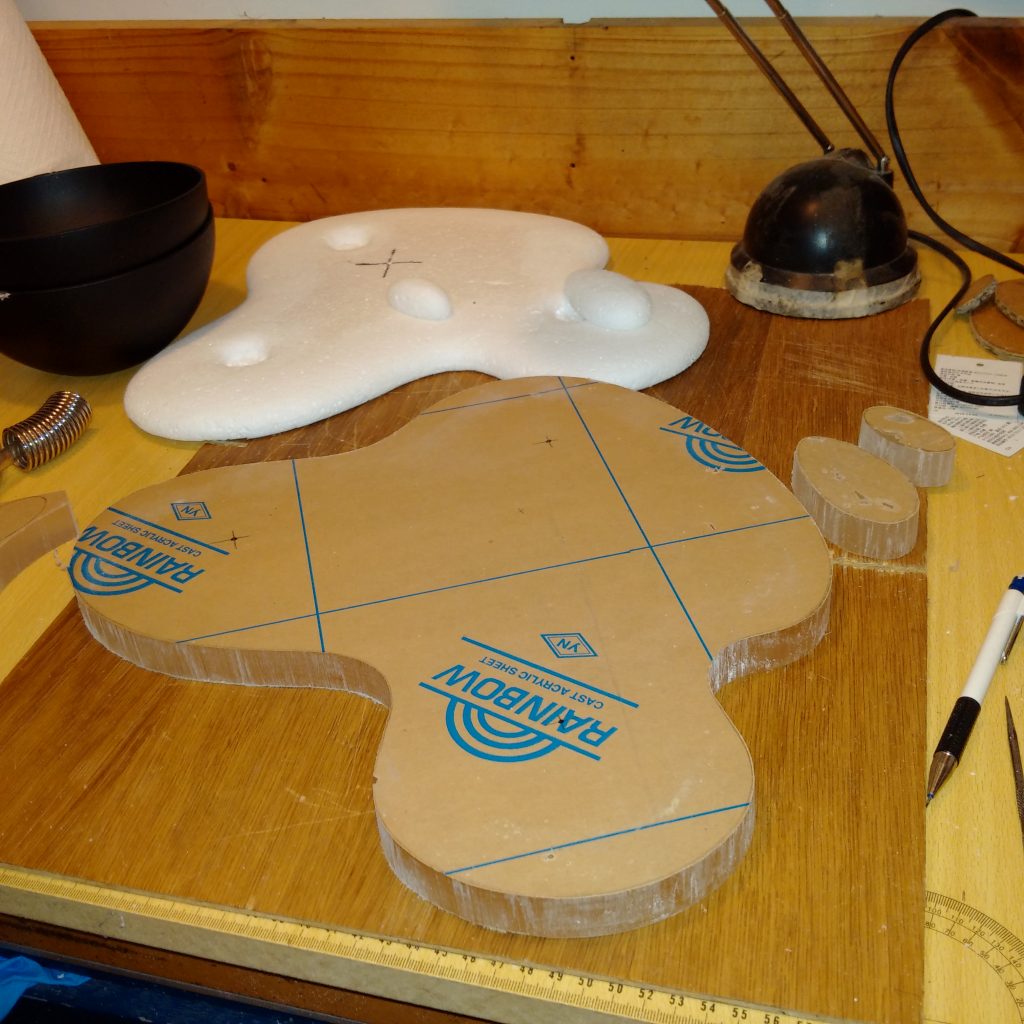
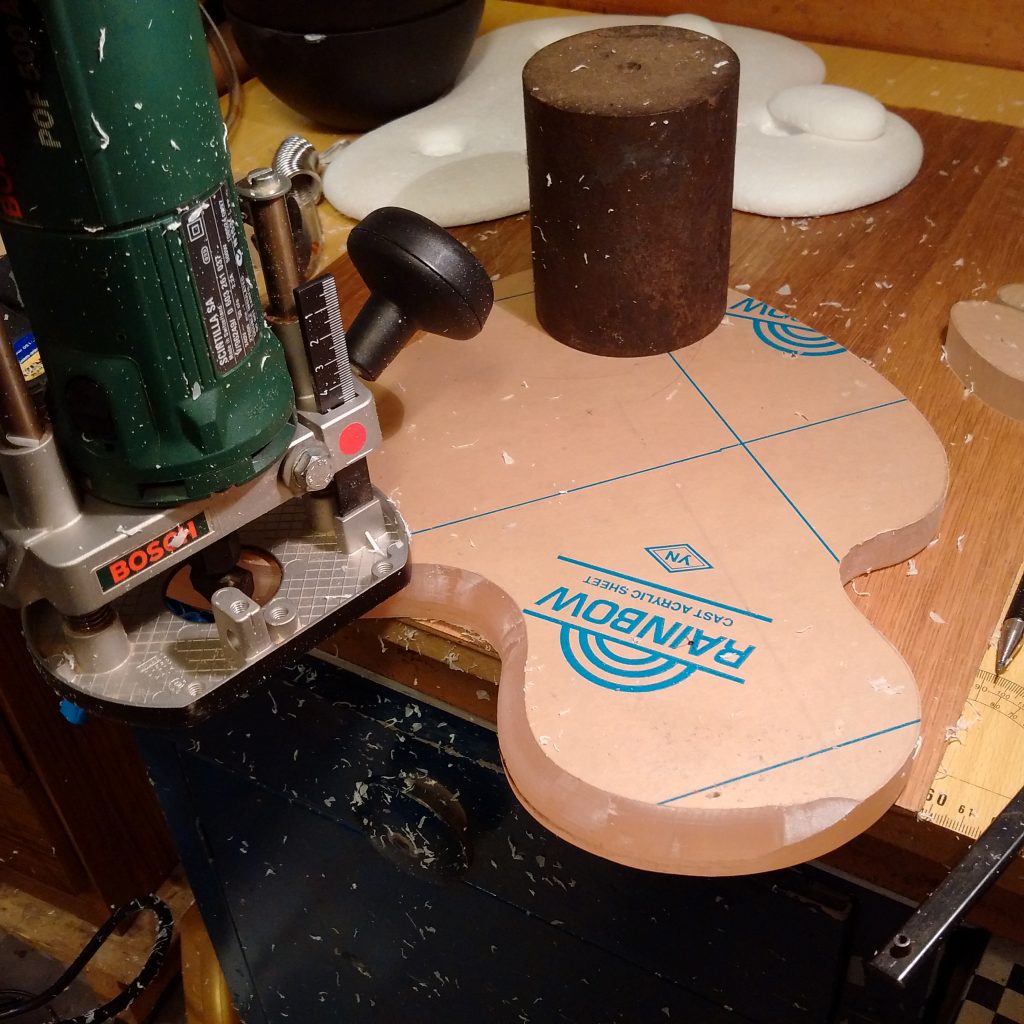
The base of now frozen metal cut out from acrylic sheet 25mm thick.
Routing the edges to start the tedious shaping procedure… power filing to come.
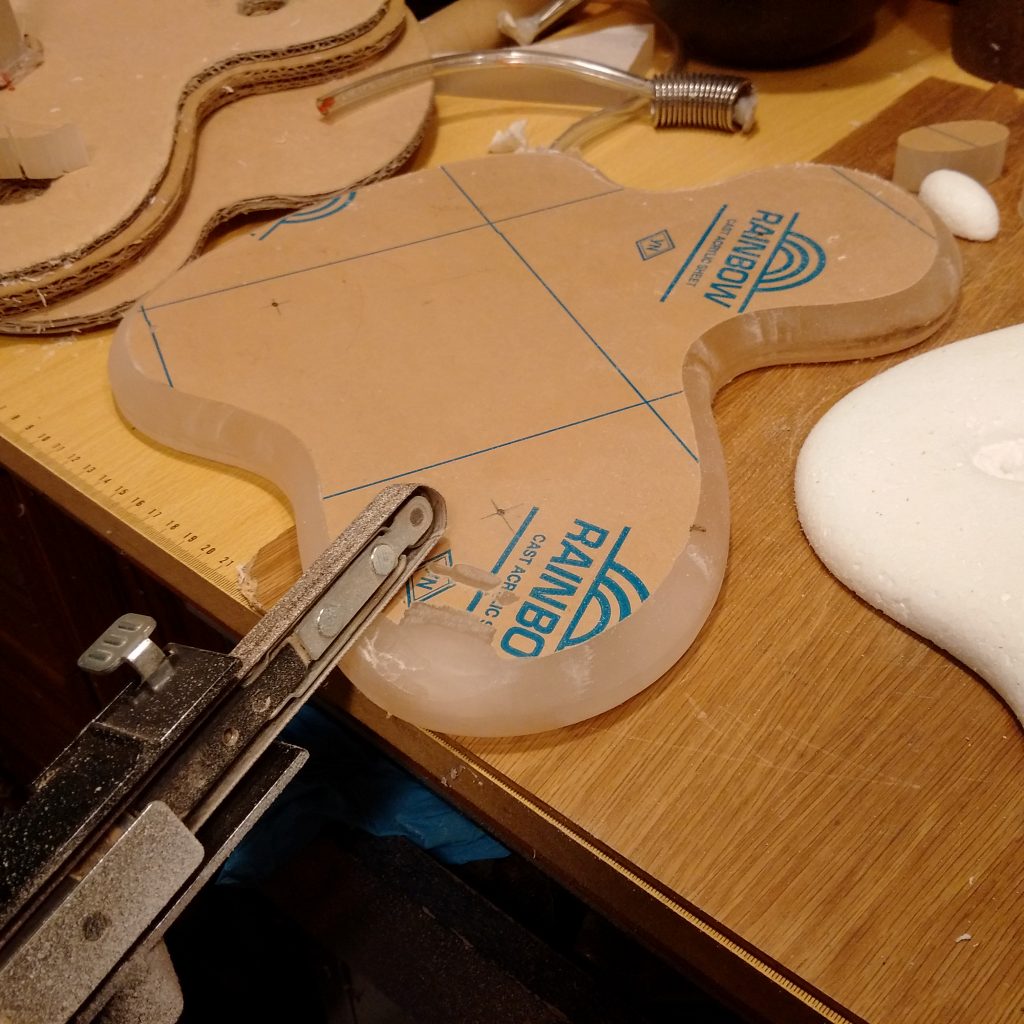
…now for loads of power filing to get the smooth flattened plastic / liquid shape look…
After lots of shaping you can see the forms are starting to look very similar…
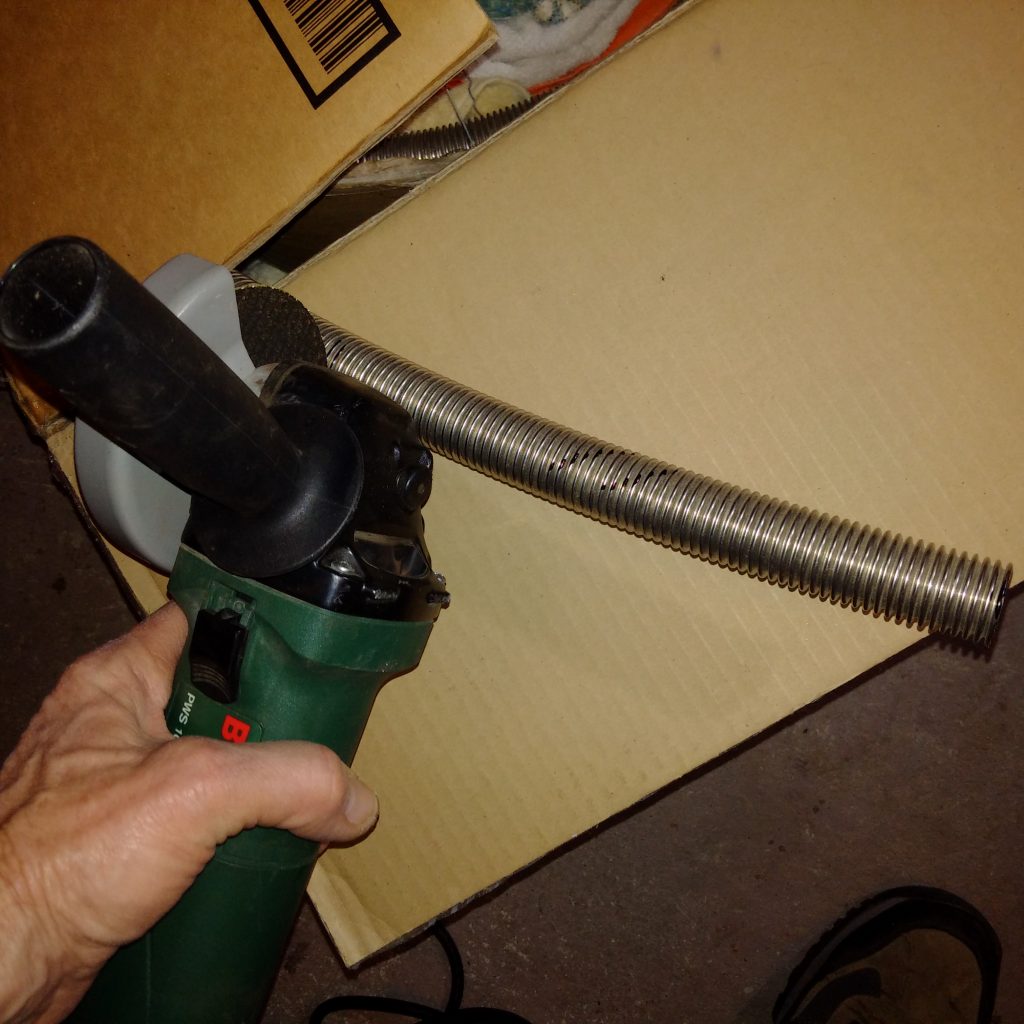
Cutting the legs to length from 20mm ID Stainless Steel convolute tube 0.2mm wall thickness. This really expensive stuff, last time I priced it this tubing was quoted at around $600 AU per meter! …and that was in the late 1990’s
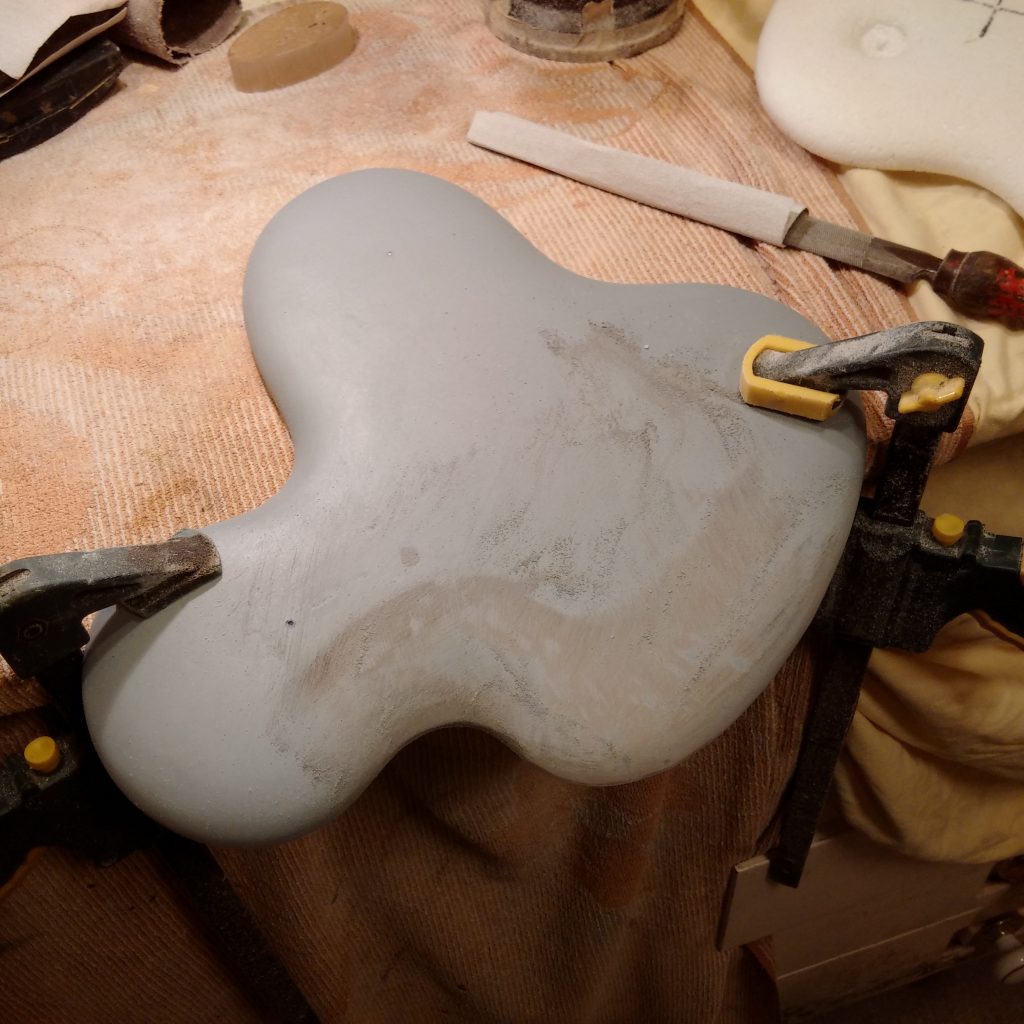
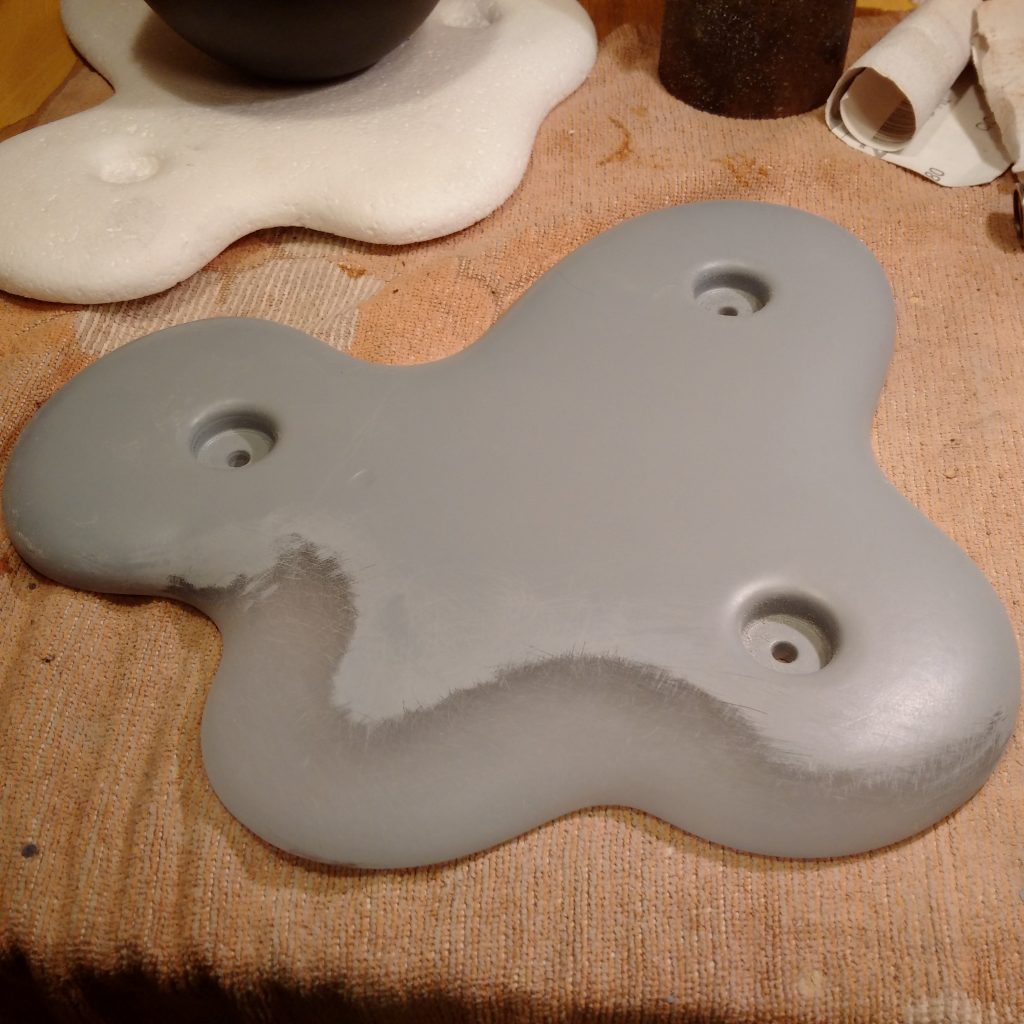
hand shaping using grey primer to check the surface continuity…
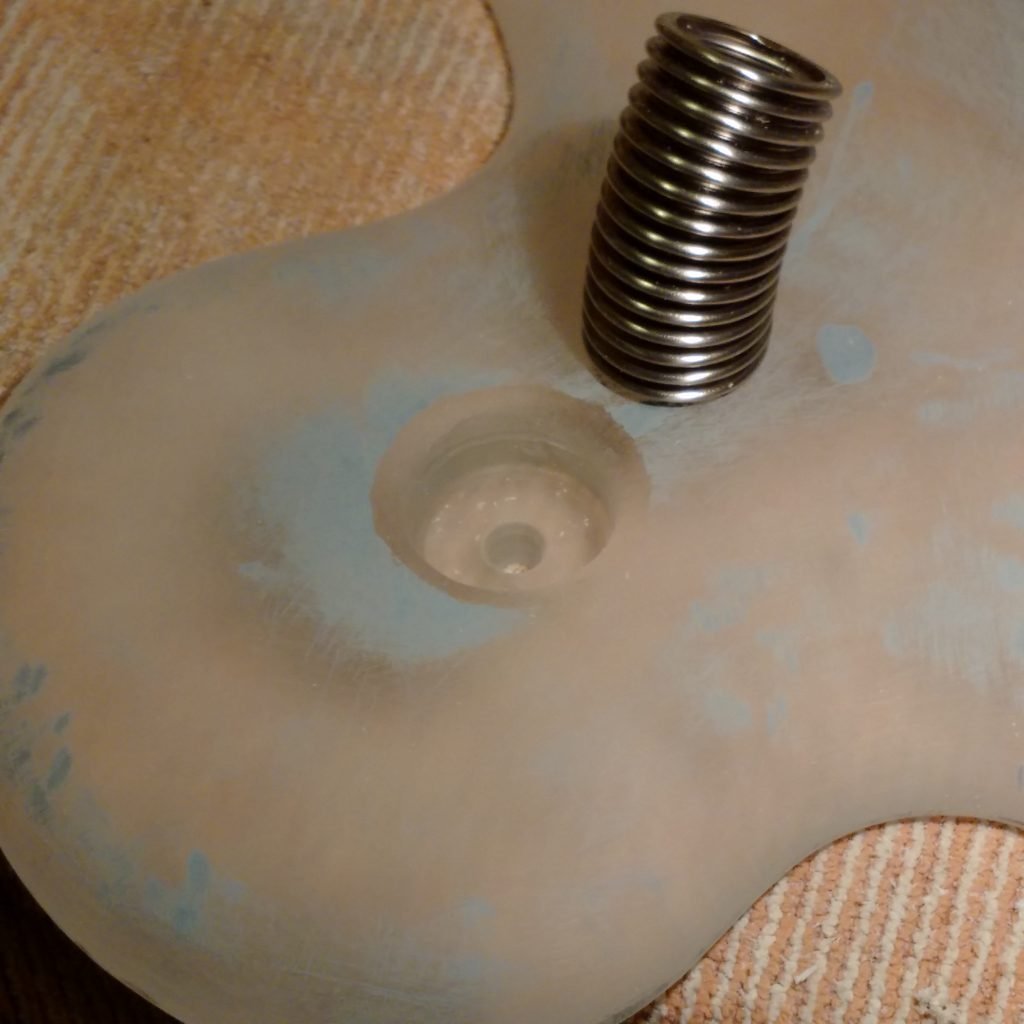
Leg sockets machined into acrylic using a spade bit as shown in the next image below… then the holes are raduised around the edges and hand blended into the surrounding surface to replicate the softness of a plastic deformation of a soft semi molten metal that has subsequently become frozen…
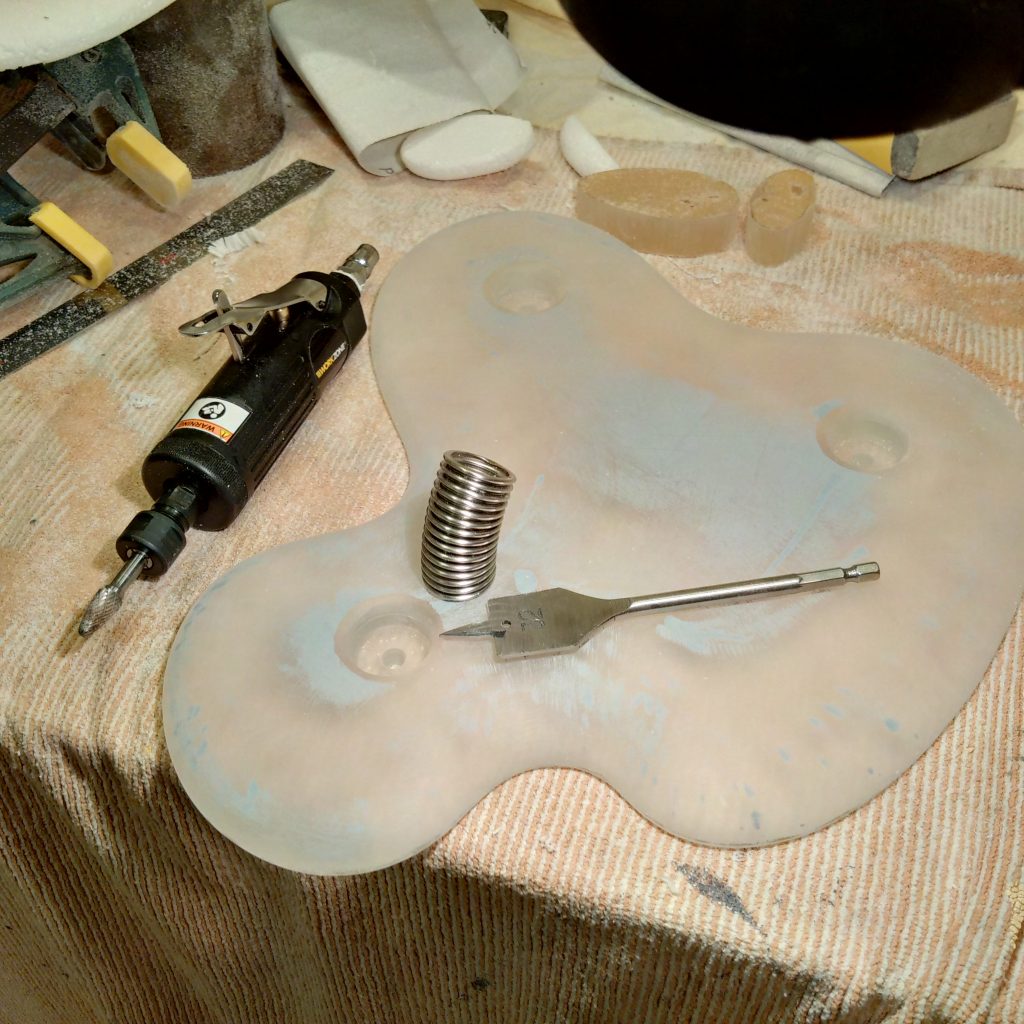
Spade drill bit and an air powered Die Grinder are used to rough out the leg sockets and radius the edges. Using an Olive shaped Carbide Bit in the Die Grinder.
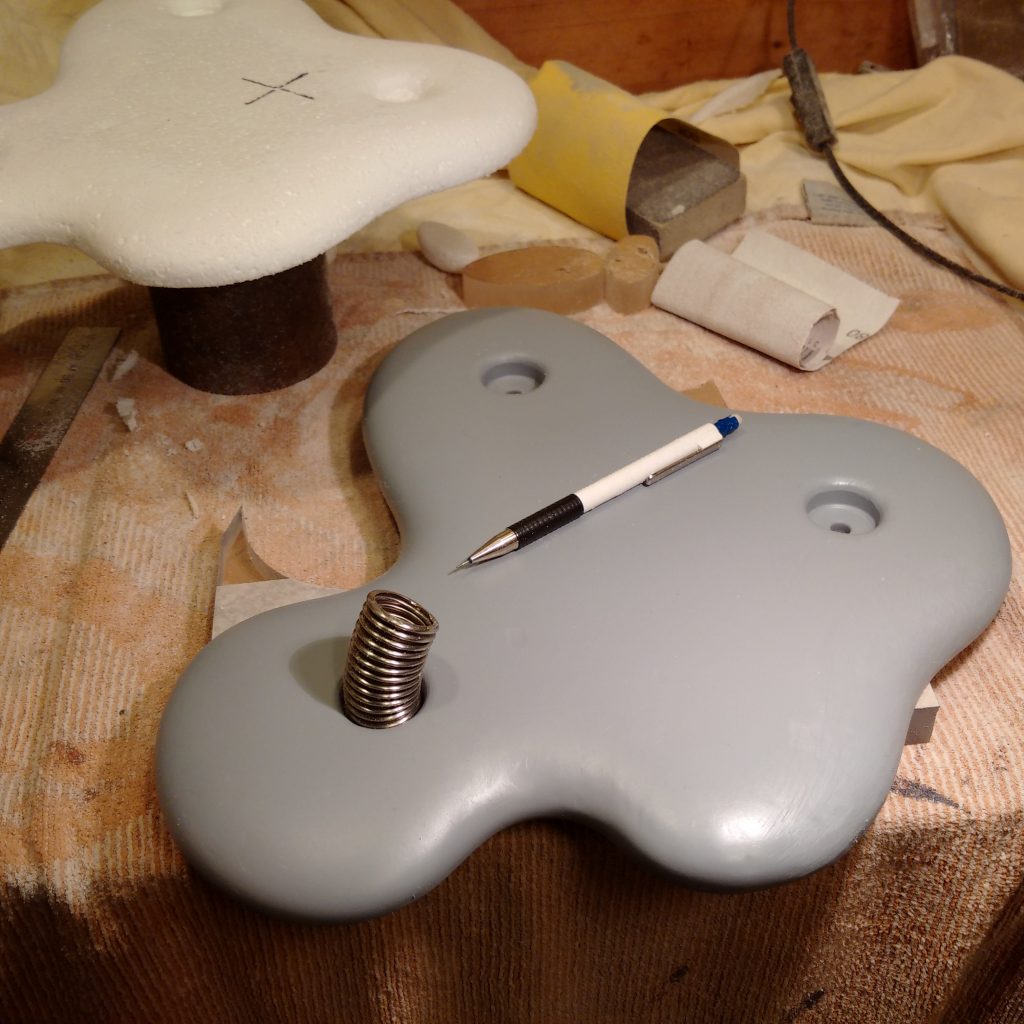
Its getting there… notice the slight concave curve on the image left ( your right hand side ) this is where I started to change the shape and move away from the idea of having satelite blobs along side the main metal base… and so the shape needed to reflect this one piece result… more shaping to be done on this edge…
More aggressive shaping going one here to get to a more believable blob…
The basic shaped parts, base is in undercoat and the rounds are clear, legs have been polished in the grooves and brushed on the outside of the rounds. This treatment makes the legs look fatter and stronger.
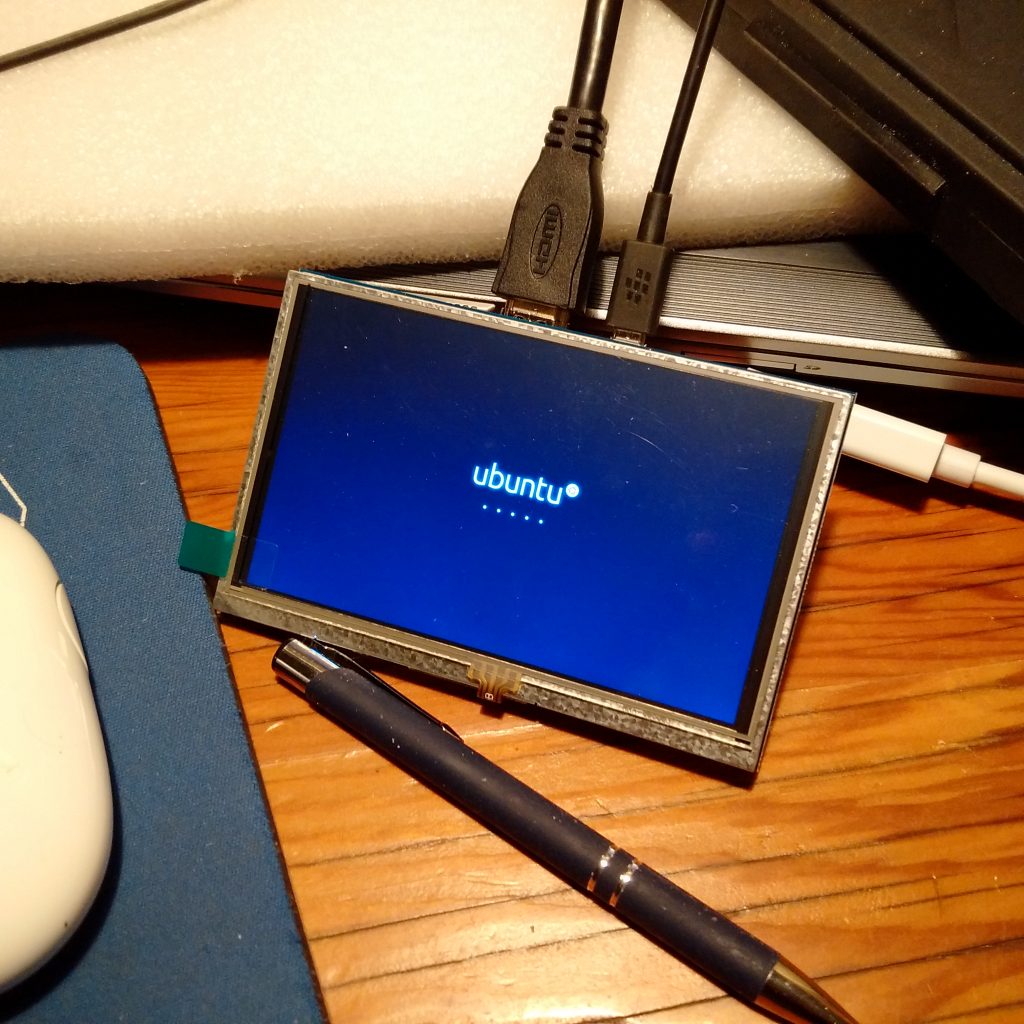
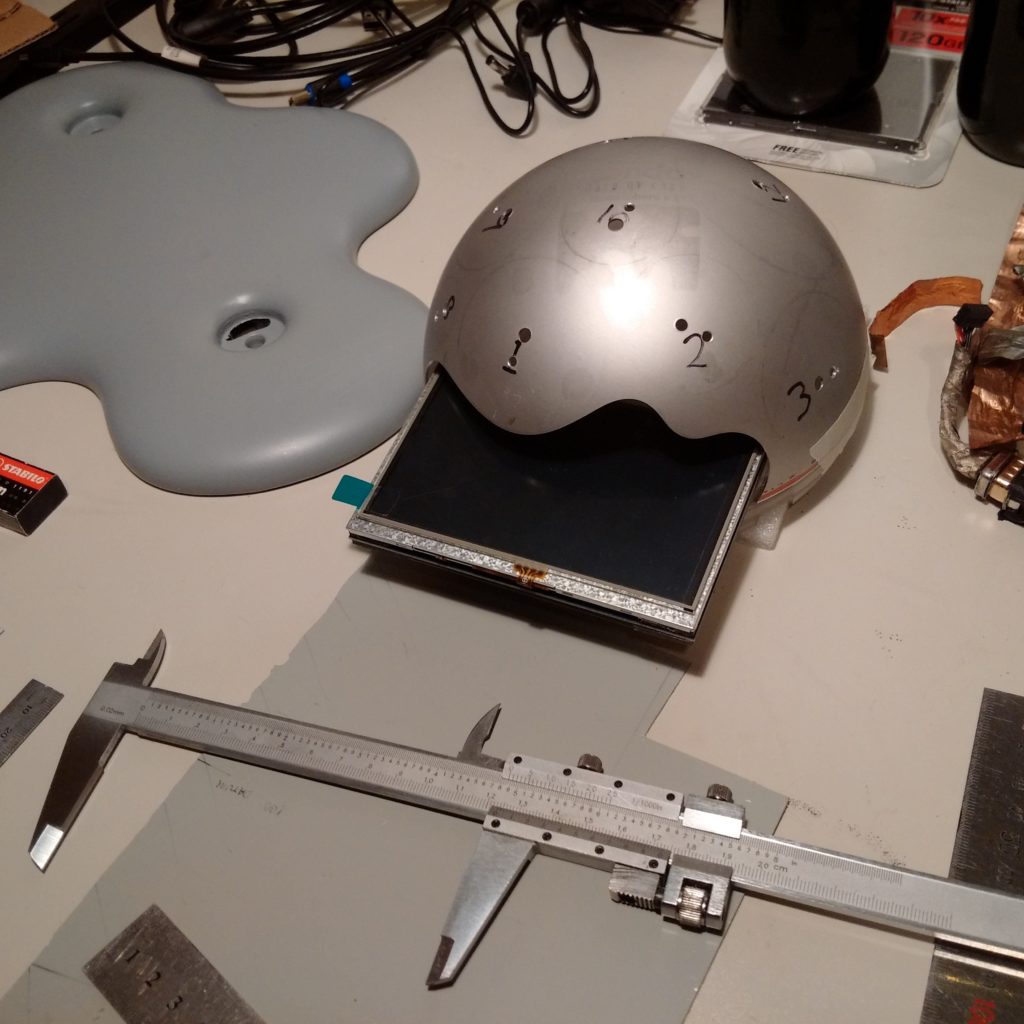
Testing the 5 inch screen… shown here running Ubuntu GNU/Linux.
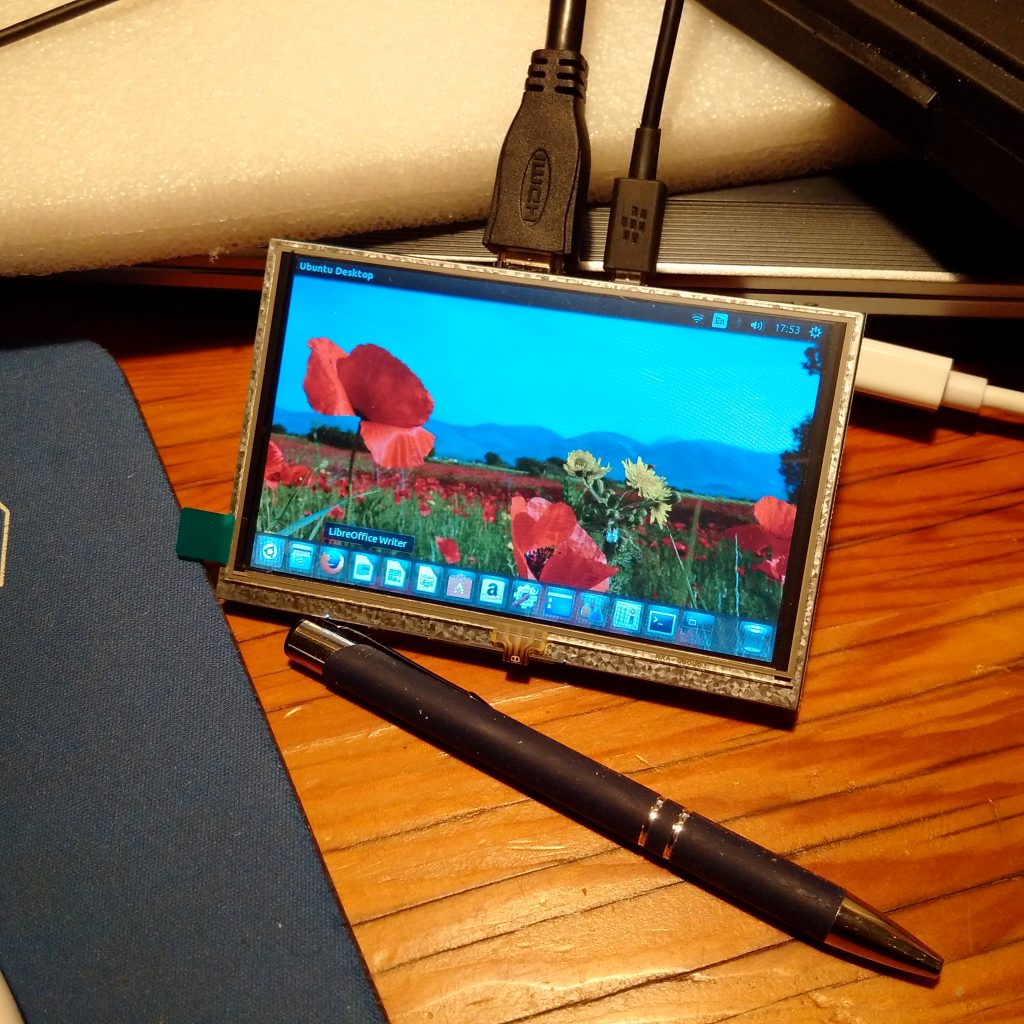
Desktop looking good, colour and resolution look good for the size as well as the contrast.
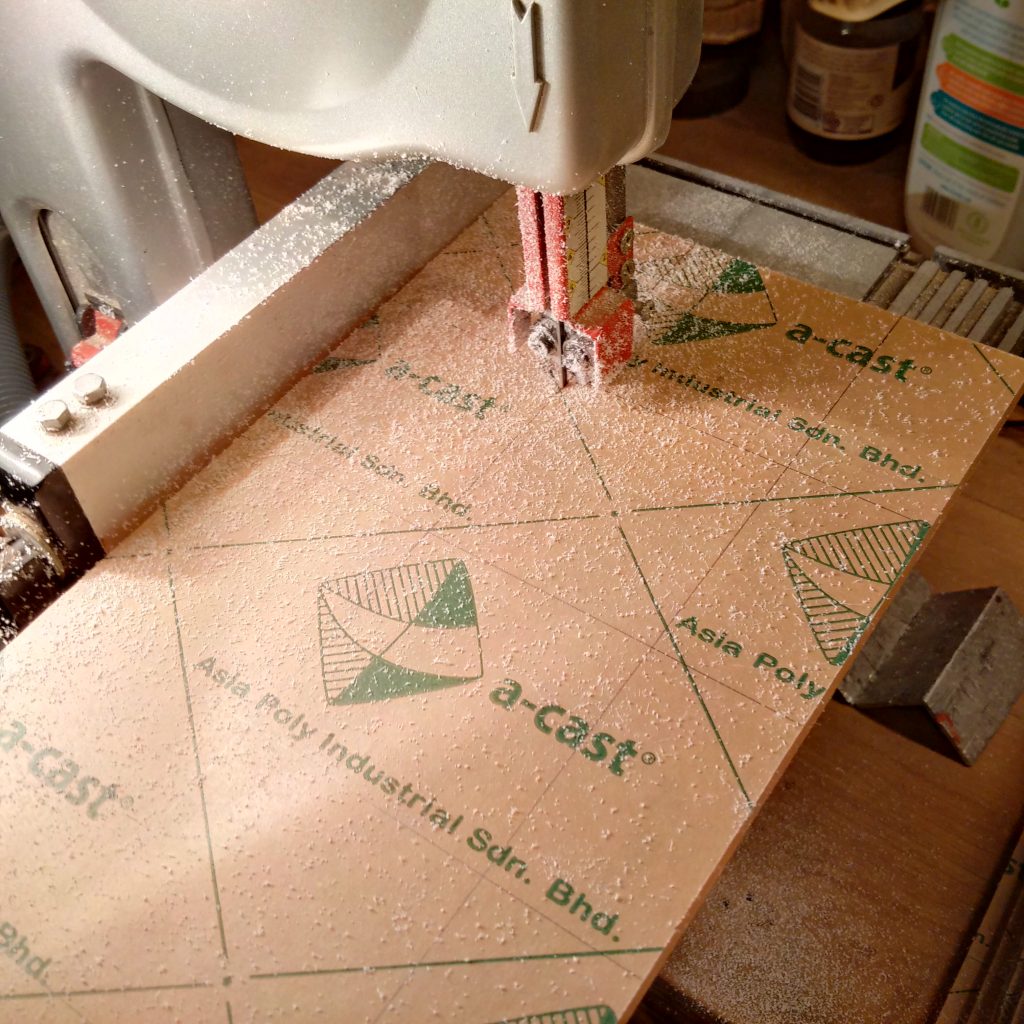
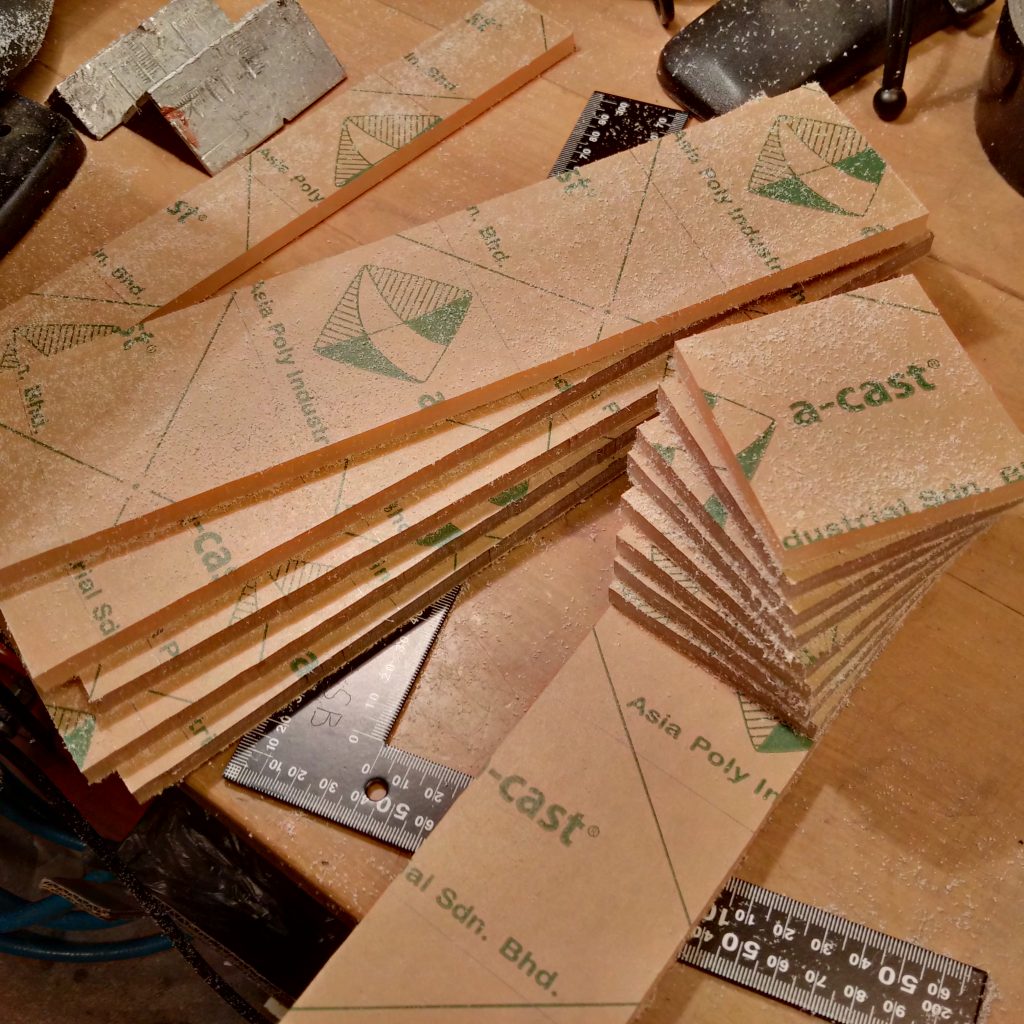
Cutting out Rounds for to cover the sphere body. These are square to start with then I made a jig to cut them into flat rounds, then another jig to head form them into sections of a sphere to match the sphere body.
Squares cut from strips. These squares will be next cut into rounds…
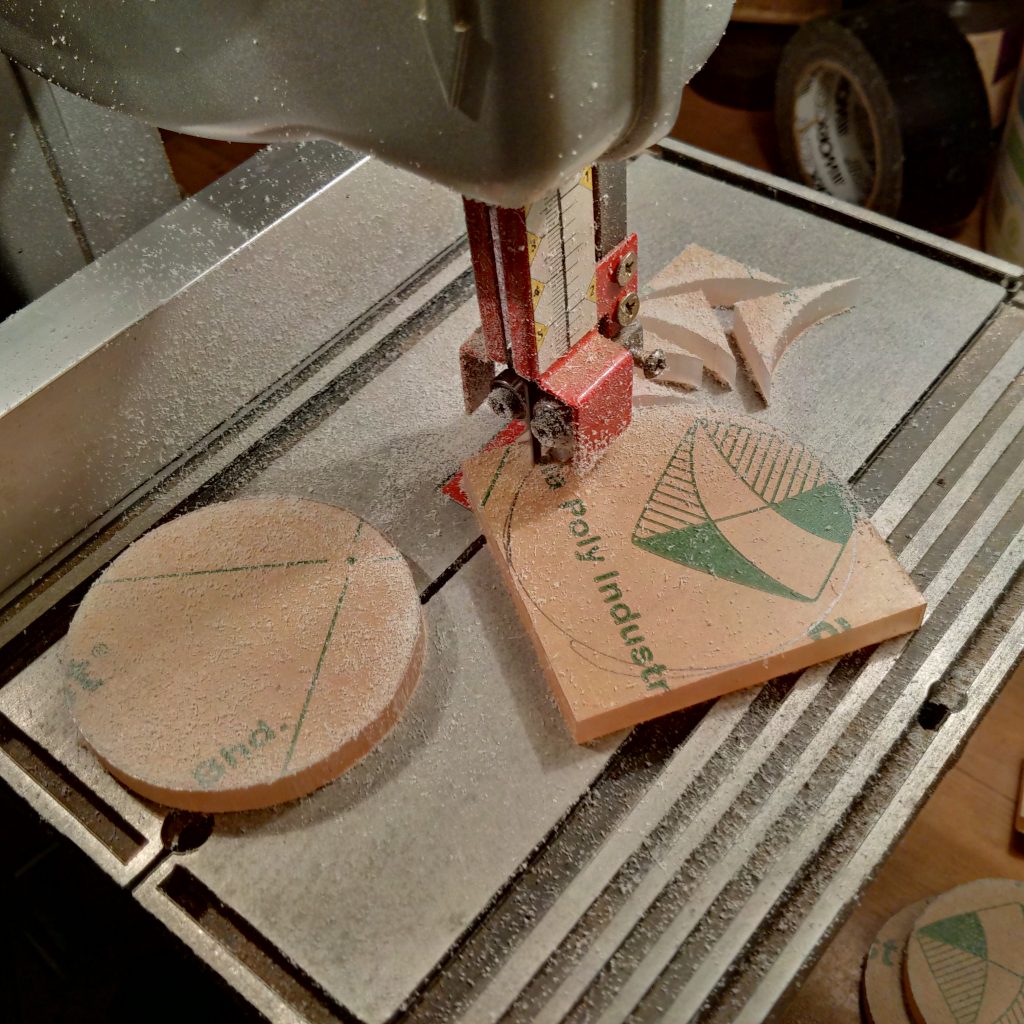
Cutting into rounds…
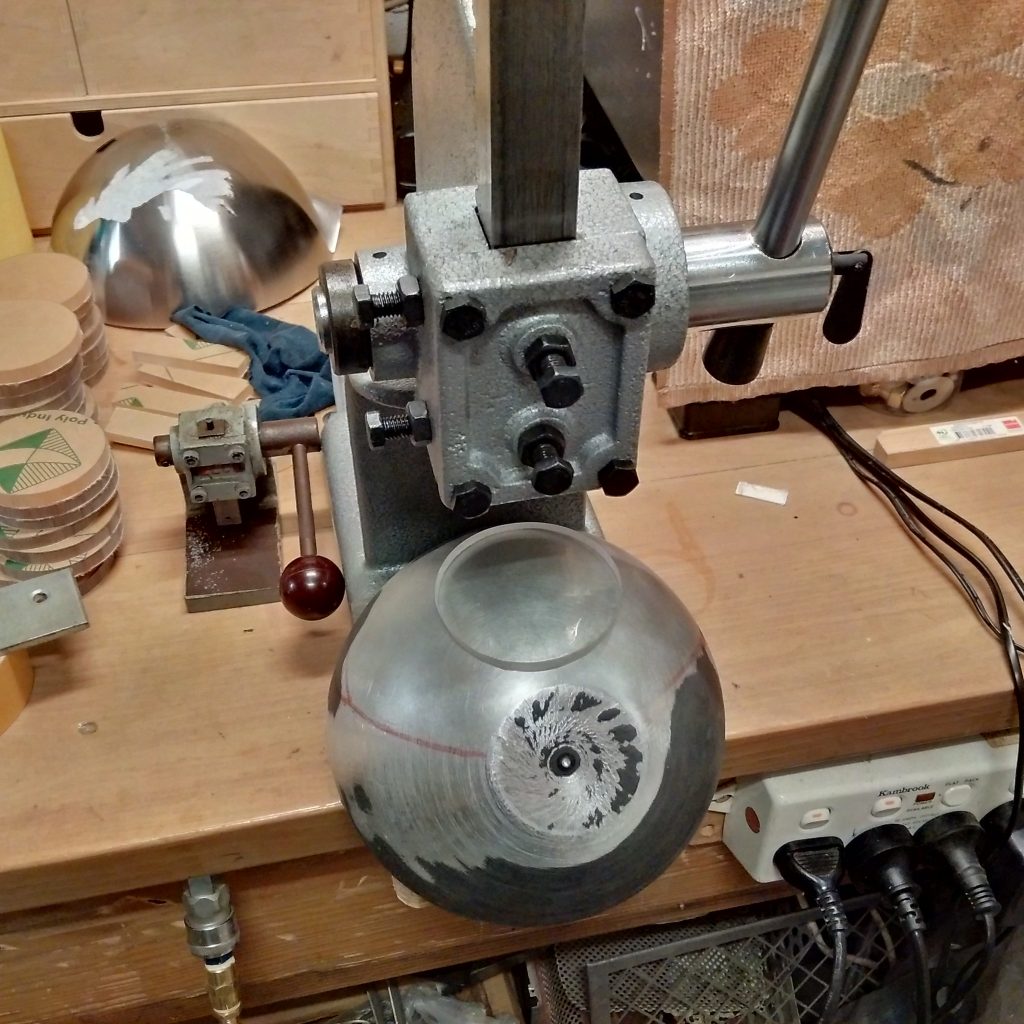
Heat bending the rounds into spheroids with an arbor press and a hot air gun. The bowl is a thick walled zinc bowl from Ikea that I machined in the Lathe to clean up the surface for a cleaner heat forming result.
Top sphere with screen in extended position. Just testing the fitment of these parts.